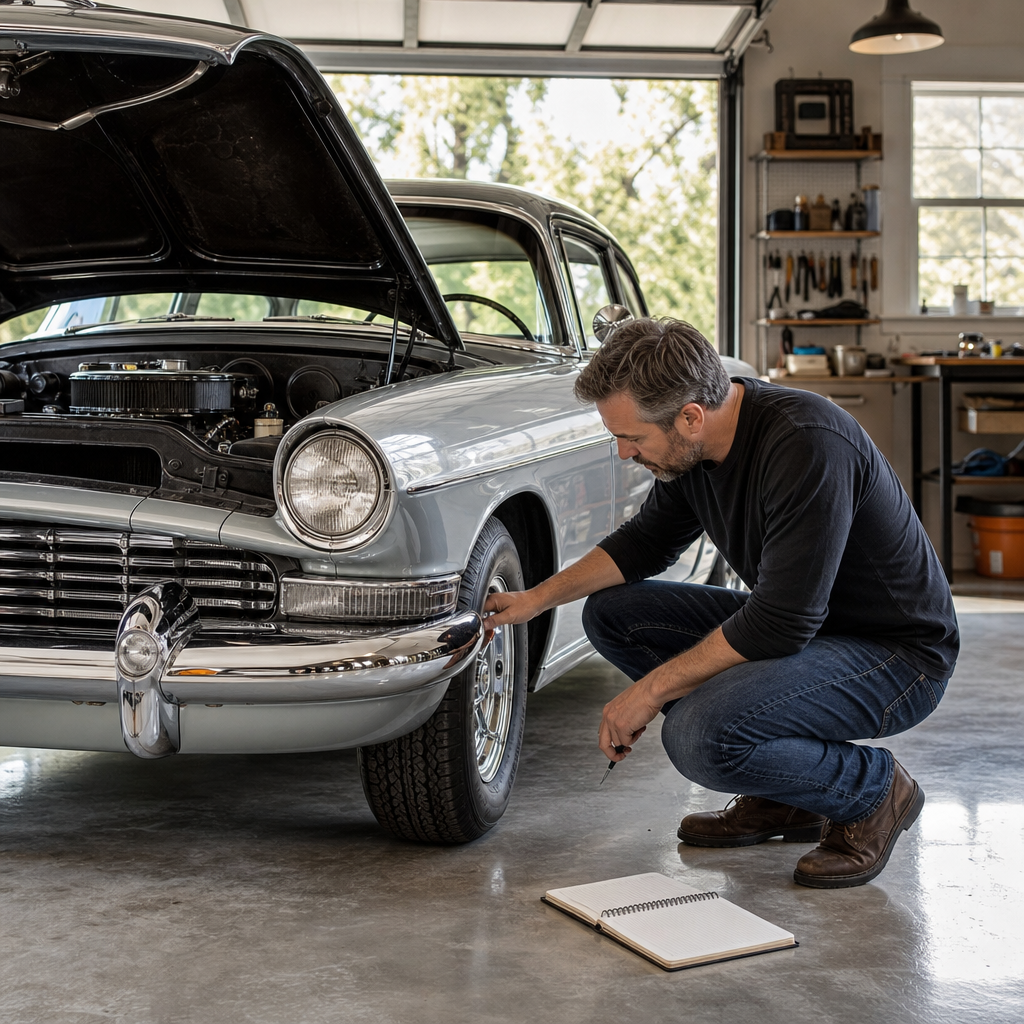
Start With a Careful Inspection
Inspect the car before you clean it or take it on the road. Walk around the vehicle in good light. Look for new scratches, dents, loose trim, or signs of moisture. Check the tires for low pressure, cracks, and uneven wear. Look underneath for fresh drops or damp areas.
Open the hood and check the visible belts, hoses, and wiring. Look for fraying, swelling, loose connections, or stains. Check the fluid levels if the vehicle uses clearly marked reservoirs or dipsticks. Use the owner’s manual for the correct checking procedure. Do not remove a radiator cap while the engine is hot.
Write down anything that has changed since the last inspection. A simple log can include the date, mileage, tire condition, fluid levels, and any unusual sound or smell. Photos can help you compare the same areas over time.
- New marks, rust spots, or loose exterior parts
- Tire pressure, tread condition, and sidewall cracks
- Fluid stains beneath the car
- Unusual smells, noises, or changes in starting
- Battery condition and visible cable connections
Clean the Car Without Harming Its Finish
Remove dust before it settles into seams and trim. Use a soft brush or a clean microfiber cloth. Wash the body with a mild automotive shampoo and separate buckets for the body and wheels. Rinse often so grit does not move across the paint. Dry the car with a clean, soft towel.
Avoid household detergents. They may remove protective products or leave residue. Do not use a rough sponge on polished paint. Test any cleaner on a hidden area before applying it widely. Chrome, painted metal, plastic, and rubber may need different products.
Clean the interior with a light touch. Vacuum seats, carpets, and vents. Use a product made for the specific material, such as leather, vinyl, or cloth. Keep moisture away from switches and older electrical parts. Open the doors for a short time after cleaning so the interior can dry fully.
- Use clean tools for each surface
- Work in the shade when possible
- Dry seams, hinges, and trim carefully
- Keep water away from electrical components
- Store cleaning products according to their labels
Protect the Car While It Is Stored
Choose a dry, well-ventilated storage space. A breathable car cover can reduce dust. Avoid covers that trap moisture against the paint. Make sure the car is clean and dry before covering it.
Keep the tires supported on a firm, level surface. Check their pressure before storage and again before driving. Follow the vehicle maker’s guidance for longer storage. Some cars may need attention to the battery, fuel system, or engine oil. These systems vary by model and age.
Do not leave valuable loose parts, tools, or documents inside the car. Keep keys and maintenance records in a consistent place. Good records help club members and mechanics understand what work has already been done.
| Area | Routine check |
|---|---|
| Cover | Use a breathable cover on a clean, dry car |
| Tires | Check pressure and look for cracks |
| Interior | Remove loose items and allow moisture to escape |
| Records | Update mileage, dates, and completed work |
Know When to Call a Qualified Mechanic
Some problems should not wait for the next club meeting. Stop using the car if the brakes feel soft, the steering changes, the engine overheats, or a warning light appears. Fresh fuel, oil, or coolant leaks also need prompt attention. A qualified mechanic can inspect the problem without relying on guesswork.
Choose a mechanic who has experience with older vehicles or the relevant make. Bring your inspection notes and maintenance records. Describe what happened, when it started, and whether the car was hot or cold. Ask what the inspection will cover and which repairs are urgent.
A monthly club meeting is a useful place to compare maintenance experiences and learn what other owners have noticed. It should not replace professional diagnosis when safety or valuable original parts are at risk.
- Stop driving if braking, steering, or overheating changes
- Record the symptoms and any visible leak
- Arrange an inspection with a qualified mechanic
- Share the maintenance history and photos
- Confirm the repair plan before work begins